
Wind, scree, and faint tread are a nasty combo, so I lean on a bandana flag, a phone-level line, and a tiny rock-scratch map.
Tie a bandana to your pole and let the wind point for you
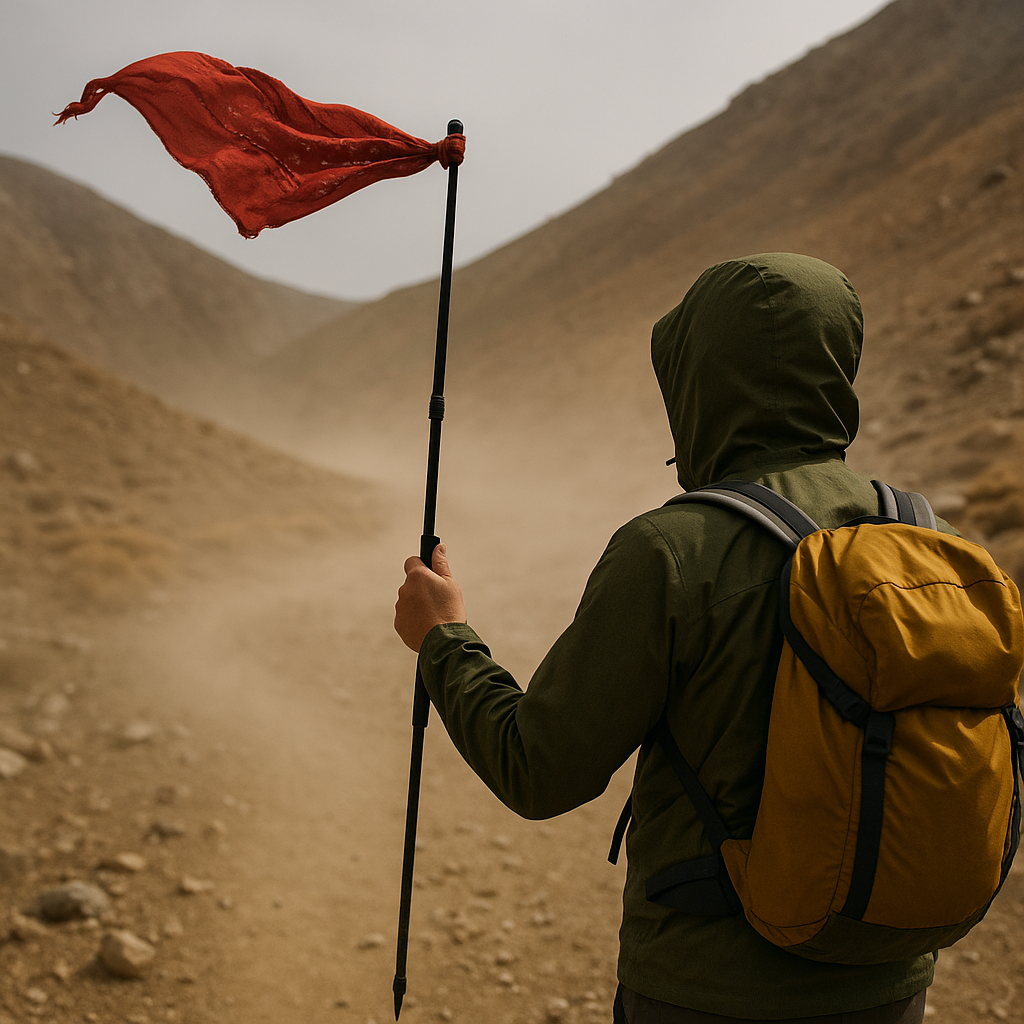
On a windy ridge, the trail doesn’t just disappear, it gets erased. Dust lifts, your eyes water, and every footstep on gravel looks like it could be “the line.” The move I use when the gusts are strong enough to shove me sideways is embarrassingly low-tech: I tie a bandana to the tip of a trekking pole and hold it out like a weathervane. Not a cute little ribbon either. A full-size bandana or a light buff catches enough air to show a consistent flow, and that consistency is the point.
Here’s how it helps in the moment. If you know the route is supposed to contour on the lee side, or the map shows the tread staying just below the crest, the wind direction becomes a quick sanity check for where “below” even is. I’ll plant my feet, hold the pole out, and watch where the cloth wants to live. Then I scan the ground in that sheltered zone for the stuff that survives wind: a slightly darker strip where fines collect, the tiny “berm” on the downhill side of old steps, or the way little pebbles are kicked off to one edge like a brushed line. In alpine areas, I’ve had the tread show up as a shinier streak where boot rubber has polished rock, while the surrounding stone stays dusty.
Two practical notes. First, do it while you’re stopped, not while you’re walking. Wind plus movement turns the bandana into a liar. Second, treat it as a filter, not a compass. It narrows where you should bother looking, and that saves time and brainpower when you’re already getting sandblasted. If I catch myself drifting up onto the crest because it “feels right,” the bandana usually tells on me fast.
Use your phone as a dead-simple sight level (no app needed)
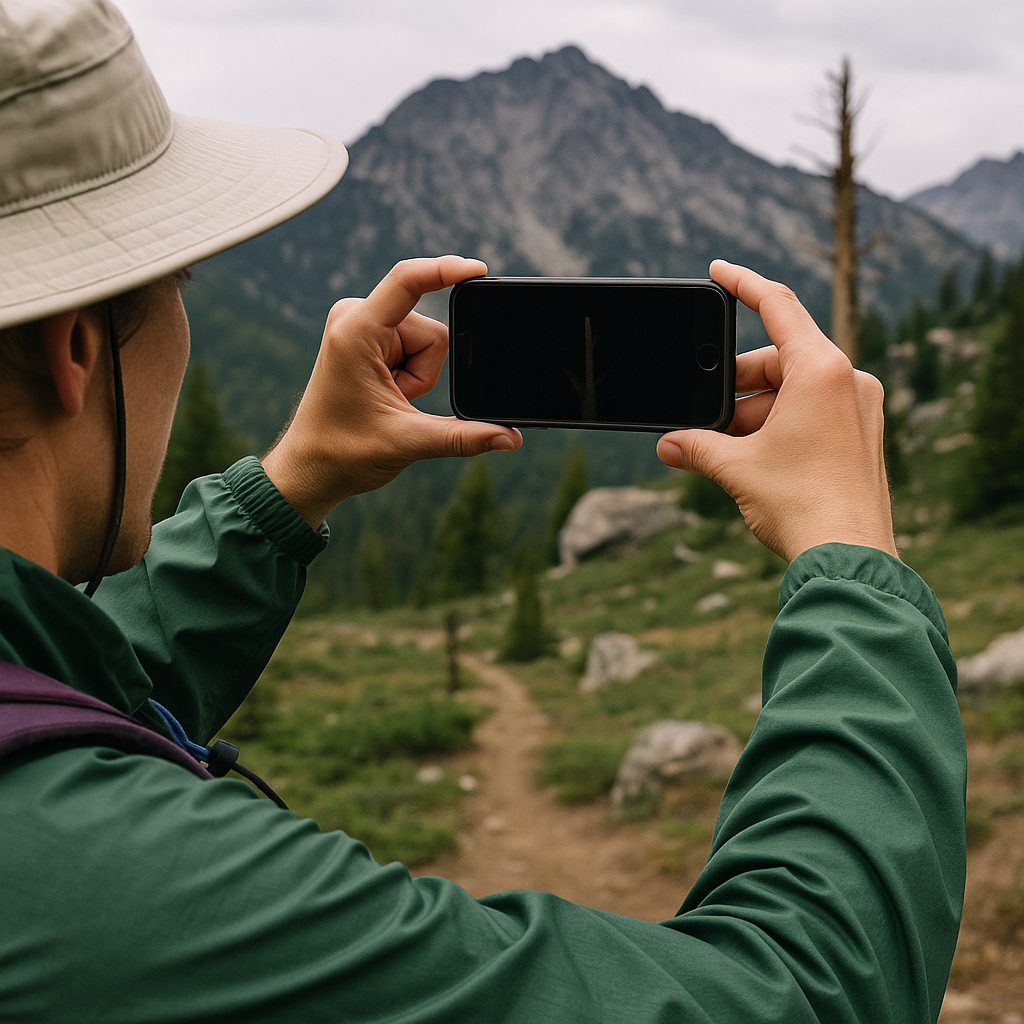
I’ve watched the GPS arrow do that little drunk pirouette at a junction when I’m standing still, and it’s the worst possible moment for the phone to get cute. When I’m trying to re-find tread in open terrain, I stop asking the phone where I am and start using it as a straight edge. No special app. No AR overlay. Just the physical rectangle.
Pick a target you can see and won’t confuse: a lone snag, a boulder with a bright lichen patch, the obvious notch in the ridgeline. Now hold your phone flat, long edge aimed at that target, and keep your elbows tucked so you’re not wobbling. This is the part people skip: lock your body, then rotate your whole torso until the phone edge and the target are lined up. That’s your line. On a paper map, it’s basically a crude resection. On the ground, it’s a way to walk a consistent bearing without trusting a magnetometer that’s being messed with by your phone case, a trekking-pole camera mount, or a wet glove on the screen.
What do you do with the line? I use it to keep a traverse honest. If the route is supposed to stay level-ish to a saddle, I’ll choose a target that sits on that contour in real life, then walk to it in chunks: rock to rock, tree to tree. Each time I get to a chunk point, I do the same alignment again and pick the next obvious object on the same line. It feels slow, but it’s faster than the “wander in a widening fan” thing that burns 20 minutes and somehow ends with you above cliffs.
It also plays nice with trail culture realities: crowded routes and social trails. If there are multiple boot paths, this keeps you from being seduced by the most stomped one. You’re not following footprints, you’re following a line you chose on purpose. And when the tread finally shows itself, it’s usually subtle: two or three crushed plants in a row, a line of scuffed duff, a tiny cut in the hillside that your eyes slide past until you’re walking straight into it.
Scratch a micro-map in the dirt before you commit
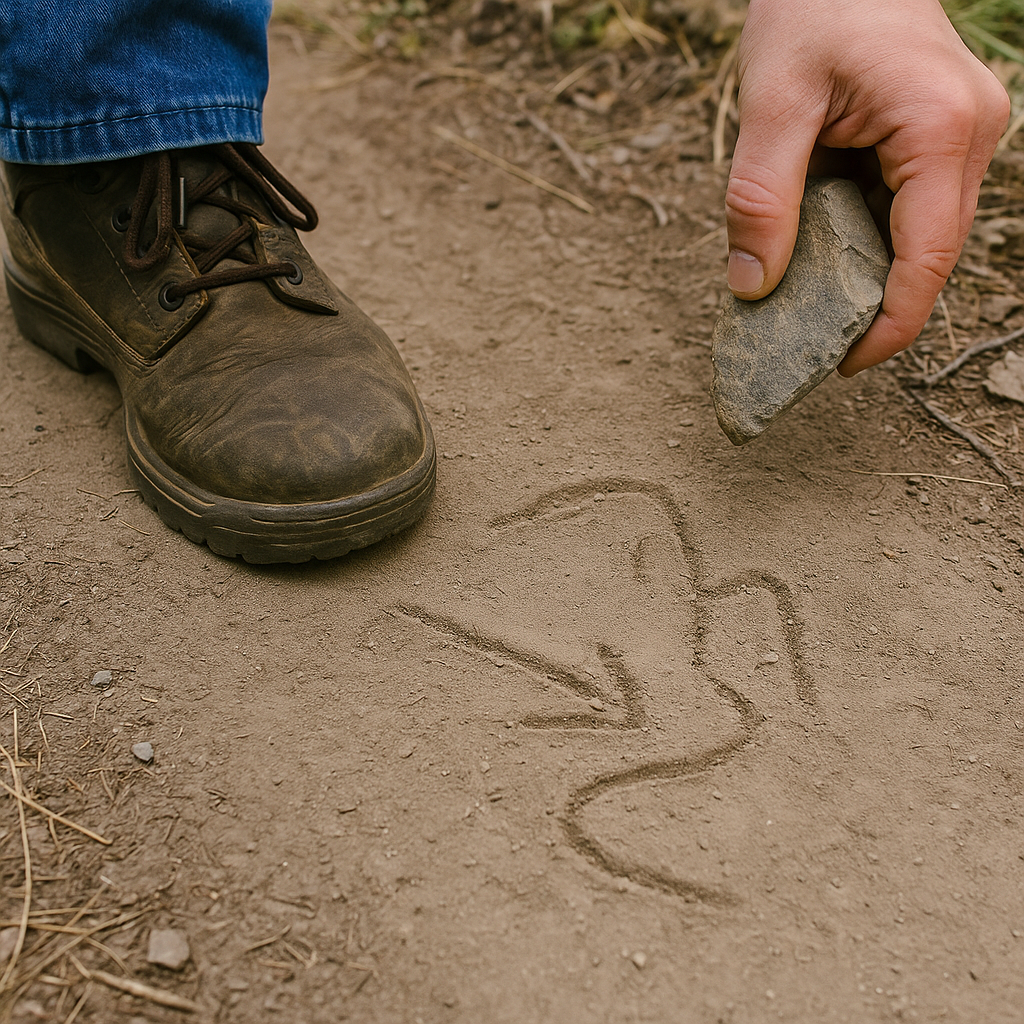
When I’m tired, my brain starts insisting every drainage is the correct drainage. I know this about myself, so I do something that looks silly but works: I draw the next half-mile in the dirt with a rock. Not a whole route. Just the piece I’m about to bet my day on.
Find a flat patch beside the tread (or what you think is the tread), and scratch three things: where you are, the feature you must hit, and the feature you must not cross. On a topo, that might be “leave the ridge, traverse to the saddle, don’t drop into the big creek.” So in the dirt I’ll draw a fat ridge line, a little dip for the saddle, and a sharp V for the creek. Then I add one more detail I can verify with my eyes: a cliff band, a lone stand of aspens, a talus field that shows as a light patch. Now I’ve got a dumb little model that matches the map and the scene in front of me.
The payoff is immediate: it forces you to name your handrails and your boundaries without getting sucked into the phone. I can look up, look down, and ask, “Am I drifting toward the ‘do not cross’ line?” If yes, I correct early. It’s also the easiest way I know to get everyone on the same page when you’re hiking with friends and opinions are multiplying. I’ve had groups stop bickering the moment there’s a shared sketch on the ground. Somebody points at the dirt and goes, “So we want that notch, not that gully,” and suddenly we’re moving again.
Make it physical. Put a boot where “you are.” Place a pebble on the saddle. Drag a stick downhill to represent the drainage you’re avoiding. Then, when you start walking, you can replay it in your head like a thumbnail: ridge, dip, no creek. If the tread fades again, you redraw it. That repetition is the whole point, and it keeps you from slowly talking yourself into the wrong valley because it looked “trail-ish” for 30 yards.